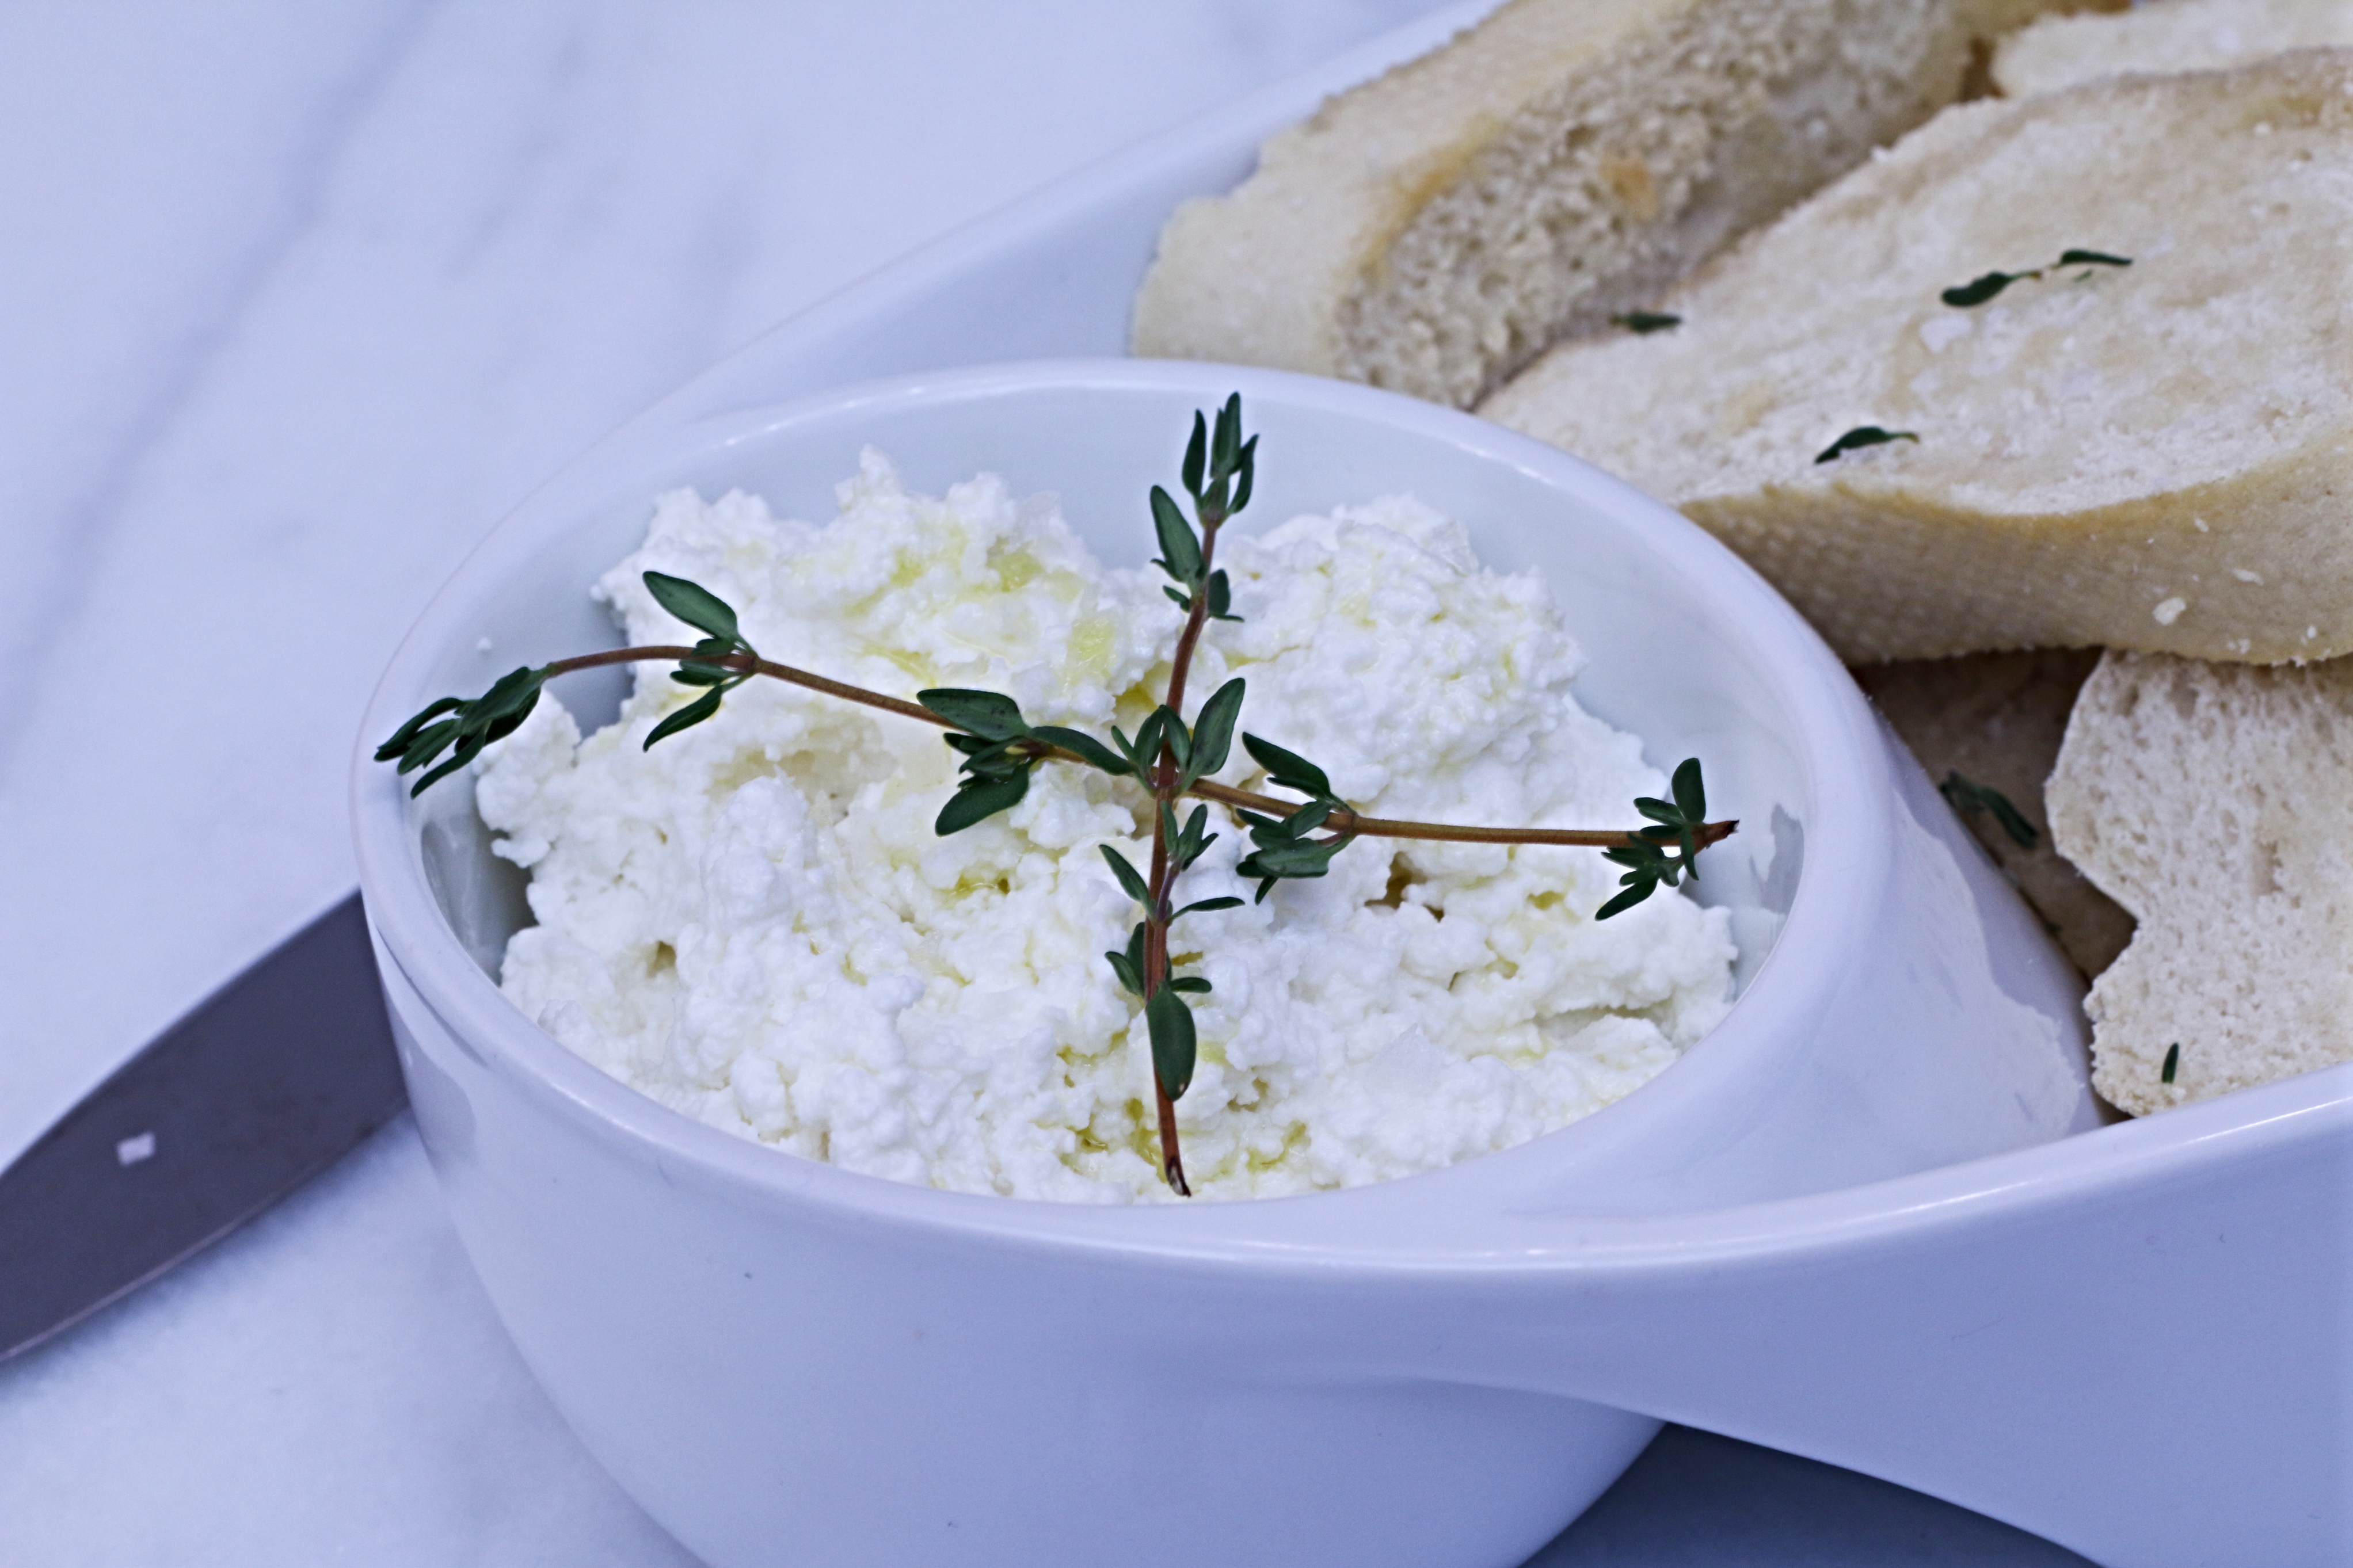
Homemade ricotta cheese is smooth, creamy and luscious. There’s truly no comparison between this and store-bought.

So, I’m torn between excitement and hesitation with this recipe. I’m sooooo stinkin’ excited to share this recipe for homemade ricotta with you, for oh-so-many reasons! Then I’m slightly hesitant to share with you too.
Why am I hesitant? Well, as I’m sure you’ve heard many times before, once you’ve tried homemade ricotta for yourself it will be extremely difficult to allow yourself to snag a container of the premade stuff from the deli counter of your local market. And well, I don’t want to be responsible for your unhappiness and I also don’t want to be the recipient of snarls, eyerolls and side-eye glares.
I have friends that give me such a hard time when I try a new recipe, share it on social media and rave about the simplicity of it. I am not a professional chef by any means. Don’t claim to be, never will. I will, however, claim to be a lover of all things food. So, when it comes to trying to recipes, both simple and complex, I’m all in. But, I’m not pulling out every dish, pot, pan and utensil to experiment on a daily basis. I have to be in the mood and have the time to dedicate to these recipe trials. So, when I rave about the simplicity of a recipe. It truly was simple.
And this claim isn’t made just because I love being in the kitchen!
Simple means it’s able to be accomplished in minimal time with a feisty, opinionated, into-everything toddler yanking on my legs and running into me every 5 seconds. Seriously! So, if I can accomplish it in about thirty minutes or less with my human obstacle course, I feel safe to say that it is simple.
And this recipe, my friends, is truly simple. It requires very little time and attention. Seriously, like 15 to 20 minutes of active preparation and the rest is just the curds and whey separating.

I have wanted to attempt the cheesemaking process for quite a while, but for some reason or another it’s taken a backseat. I decided it was FINALLY time to attempt making cheese at home and I decided to start easy. I had read several different recipes for homemade ricotta and the common link between everything I read was how simple it was to make. So, for my first attempt at the process I was sold on ricotta cheese.
Y’all, it was so much fun. It was easy, quick, and required very few ingredients. Like 5! The end result was nothing short of incredible!
Now, let me say this. I truly LOVE homemade ricotta, there’s honestly nothing like it. But I must also say that I’m not going to be whipping up a batch of ricotta each time I need it for a recipe. There’s nothing wrong with using some help from the store when you need it, and I’m not above snagging a container if I don’t have the time to whip up a batch.
Full disclosure though- you’re going to want to make time to make homemade ricotta when needed. Why??? Well, it’s so incredibly luscious and creamy. AND if you want to take it to another level, pop it in the blender after the straining and chilling process for a next-level creamy ricotta. I could honestly eat it by the spoonful, but instead I’ll enjoy it with a little drizzle of good quality olive oil, fresh cracked black pepper, a pinch of sea salt and schmeared on a baguette.
My mouth is watering just thinking about this!!!
So, without further adieu, here is the recipe for the simplest and most delicious homemade cheese….EVER!

Homemade Ricotta
Homemade ricotta is rich, uber creamy and sure to be a show stopper. Use this in your favorite recipes as well as a simple, yet impressive appetizer. And, it's easier than you think!
Ingredients
- 8 Cups (half gallon) whole milk
- 1 Cup half and half
- 1 Tsp Kosher salt
- 3 Tbsp fresh lemon juice
Instructions
- Combine milk, cream and salt in a heavy pot and stir to combine. Secure a cooking thermometer to the side. Place over medium heat, stirring occasionally to prevent the milk from scorching. Continue the cooking process until the milk is steaming and the thermometer reads 180 F.
- Remove from heat and stir in the lemon juice. The milk will immediatly start to curdle. Allow the mixture to rest 5-10 minutes.
- Line a strainer with cheesecloth* and place over a bowl.
- Gently pour the mixture into the prepared strainer and allow to drain for at least 15 minutes and upto an hour.
- Serve immediately or place the in a well-sealed container and in the refrigerator for upto a week.
Notes
* Use at least 2% milk. Higher fat content yields an even creamier cheese.
* If you don't have cheesecloth, coffee filters work perfectly fine as a liner for the strainer.
* The less time the cheese drains, the creamier the cheese it will yield.
* I adore serving this drizzled with a little olive oil, freshly cracked black pepper and a pink of maldon salt with some toasted baguette slices.
* KEEP the whey. It can be used in pancakes in place of the milk/buttermilk. It can also be used in a multitude of other recipes.


